
 |
| The tissue paper tree collage has yet to be attached to the hand-colored family tree above. In this art project the grandparent colors one half of the art project and fills in the child's family tree while his or her grandchild crafts the tissue paper tree that will be attached to the top half of the picture with either a narrow swatch of paste or a brass brad allowing the tree to rotate and reveal the family diagram below. |
- Green and brown construction paper
- white school glue
- green and yellow tissue paper
- a print of the simple family tree below, one per student
- one copy of the heart tree pattern to create a cardboard stencil from
- scissors
- colored pencils
- brown crayons
- staplers
- brass brads and a hole punch (This is an alternative method of attachment instead of staples.)
- Cut the heart shaped tree and trunk template after sizing it roughly to cover the family tree graph in a Word Document File.
- Cut the heart shaped foliage from green paper and the trunk from brown. Your students may glue the trunk on the heart after coloring it with crayons or markers and then glue it to the tree. However, I would glue these two together in advance for younger preschool students.
- The young student may then crumple colored tissue squares and glue these to the surface of their construction paper tree while his or her grandparent fills out the basic family information as shown below in red type.
- The grandparent may either color the family tree alone or with the help of their grandchild before stapling together the tissue paper covered tree. Staple the two together to create a flap, just at the upper portion of the tree tops, so that the tree may be lifted up to reveal the graph.
 |
| Here you see that the family tree jpg. is enlarged inside of a word document before it is printed out on a 8 1/2 x 11 inch sheet of white typing or drawing paper. On the far right, the tree has been filled out and colored by an adult. This may also be done by the child if they prefer, however, it is important to give the child lighter colored pencils to color the birds so that the family names will not be fully obscured from view. |
 |
| On the far left, I have cut 150 trunks and heart shaped folia to assemble the trees for young students ahead of time. All they will need to do is crumple tissue paper and glue it to the tree's surface and color the trunk with a brown crayon. Crafts sometimes need to be preassembled a bit in order for them to be successfully completed within a limited time allotment. |
 |
| I have stapled the tree on top of the colored print so that the small birds may nest quietly beneath the student's artwork. Now Henry will have a nice keepsake to remember Grandparent's Day. |
 |
| A simple Family Tree Graph showing how one child is related to both sets of his grandparents. |
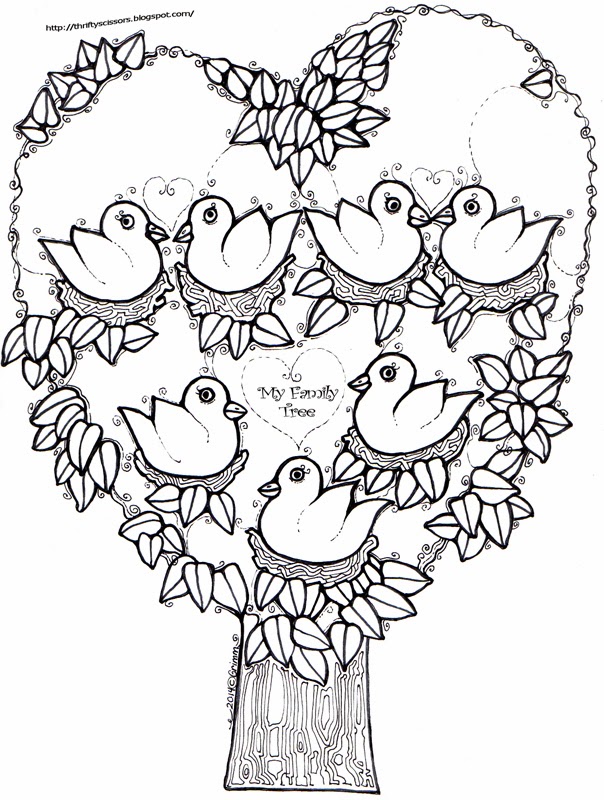 |
| Print one simple family tree graph per student for grandparent(s) to fill out and color. |
 |
| The pattern for the heart shaped family tree that will need to be sized to cover the above drawn graph sufficiently. You will need to "tweek" it a bit and print it out at different sizes until you are satisfied with the fit. |
More Family Tree Lessons:
- my family tree lesson plan from Art Education Daily
- Design Your Own Coat of Arms Lesson Plan
- Celebrate Your Heritage
- Creating Family Timelines
 |
| Young students at our school completed a simpler version of the same project idea with their own parents and grandparents. |
 |
| After finishing early a little girl views the members of her own family tree on a cell phone. |
 |
| This young girl has so many family members that she had difficulty pasting them all onto such a little tree. |
 |
| Look there's no space left to color in the tree! |


